Showing posts with label craft. Show all posts

Monday, February 20, 2012

Recycled Rainbow Crayons!


There is nothing better than taking something that is old, and making it new and exciting all over again. 
If you have kids I am sure you have an enormous collection of broken crayons sitting in a container somewhere in your house...well it is time to give them new life!


What you need:


-Old crayons
-Silicone mold or muffin pan
-Knife
-Oven


1.  Gather all your broken up crayons and peel of the paper labels (Crayola brand melt better than other cheaper brands)
2.  Separate crayons into different color families or favorite color combinations
3.  Cut crayons into small pieces and fill mold (you might want to spray the mold with oil first)
4.  Preheat the oven to 200 degrees
5.  Bake 20-25 minutes or until crayons have melted
6.  Allow mold to cool; then pop out crayons
TIPS:
-Don't use a silicone mold that you plan to use for food in the future.
-If you are using a muffin pan you can line it up with aluminum paper, so you can reuse it for food.
-You could also melt the crayons in the microwave (use a microwave safe container), and then just pour the melted crayons into the molds.  This technique works better if you are planning on making layered color crayons.


Wednesday, November 30, 2011

Paper Christmas Trees!

Paper Christmas tree craft
Need a craft to keep the kids busy when it is too cold to go out? 
Check out these super easy paper trees from Parents Magazine


Instructions:

1.  Using different-size circle punches, have the kids punch circles from different shades of green cardstock or scrapbook paper.   You can also use scissors to cut the circles.
2.  Using a standard hole punch, have them make the "ornaments" from various bright colors of paper. 
3.  Use glue stick to glue green circles together in a triangular shape (to resemble a Christmas tree). 
4.  Glue small colored dots all over green circles as ornaments. 
5.  Punch or cut a star for the tree topper; glue to the top of tree. 
6.  Clip a clothespin to the bottom as the trunk.  You can also glue a ribbon hoop in the back and hang them in your tree!


Christmas Yarn Trees!

Trees1
Yarn covered styrofoam cones! So cute and whimsical.  Check out the tutorial here

Thursday, October 13, 2011

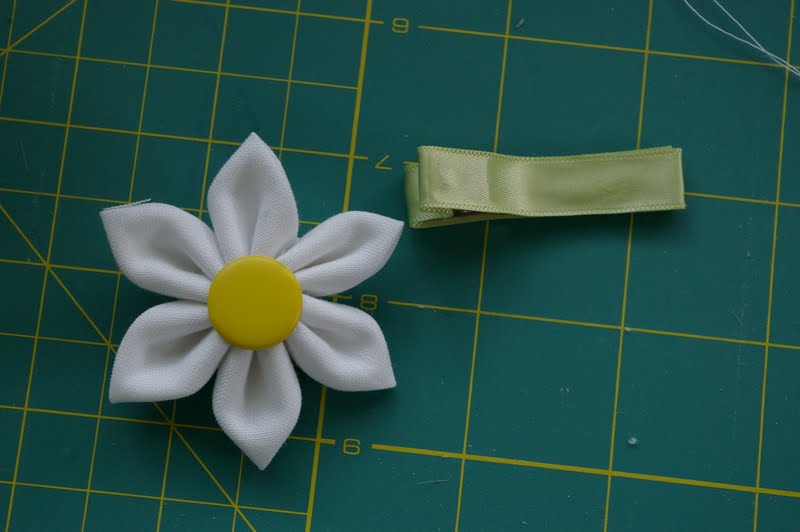
Fabric Daisy Flower Tutorial


  • Fabric
  • Needle and white thread
  • Scissors
  • Fabric glue or hot glue
  • Hair clip (and ribbon to cover, optional)
  • Brad, button, or fabric covered button
  • Felt

1. Using scissors or a rotary cutter, cut six 2" squares.

Like this.

Now fold it once...

twice...

three times.

Fold the edges down to form the petals.


Clip the excess off,

so it's even.

Now stitch through the middle, making sure to catch all the layers.


Repeat that for all six petals.

Pull it tight.  Stitch back through the first petal to secure; knot and trim the thread.

Now attach the center. 
Cut a small circle of felt and glue to secure the back of the daisy.
Covered a hair clip with ribbon 
Use fabric glue to adhere the flower to the hair clip.


Credits: Little Birdie Secrets

Friday, September 16, 2011

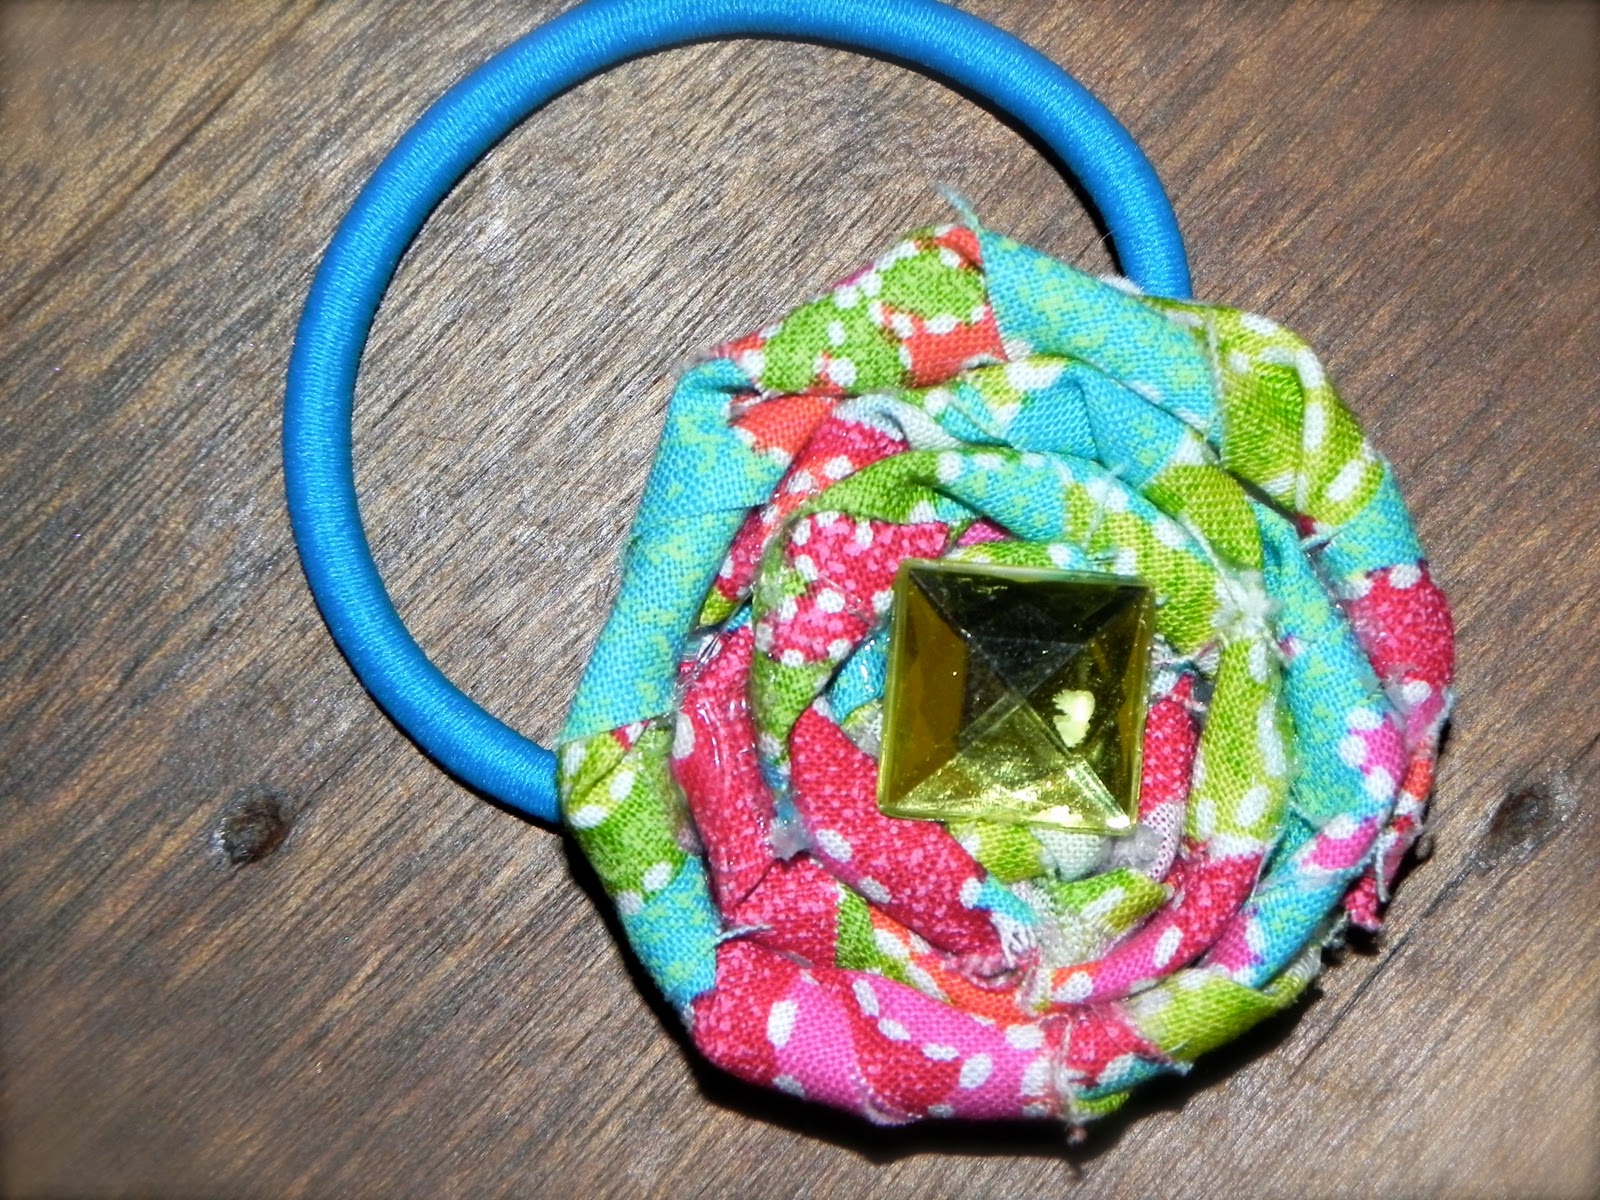
Fabric rosette tutorial


These fabric rosettes can be used to decorate bracelets, headbands, pins, t-shirts or party favors...oh, the possibilities! Here is a step by step guide on how to make them:


Supplies:
-Fabric
-Scissors
-Glue gun
-Beads, buttons, ribbon to decorate


1. Cut or tear a strip of fabric 1" wide (tear it for a shabby look). The length of your strip will determine how large or small your flower is. I use about 22" long for smaller flowers, 44" inches (length of fabric) for large, and about 60" for extra large. How loosely or tightly you wrap your fabric will also determine the size.

 2. For the center of your rosette, tie a knot in one end of your strip.

3. Dab a dot of glue on the knot.


4. Hold the knot with one hand and twist the strip with the other. As you twist, turn the knot, wrapping the fabric around it. Every 1/4 to 1/2 turn, dab a little more glue to hold it together. 


5. Continue twisting, turning, and gluing. Play around with how tightly or loosely you wrap to see what you like best.


6. When you get to the end, glue the tail to the underside of the rosette.  

7. To ensure your rosette stays together, cut a fabric circle (I used felt) just a little bit smaller than your flower and glue it to the back.


8. Optional: Using a needle and clear (transparent) thread, sew beads or buttons in the middle.

Thursday, September 15, 2011

Strawberry Favor box

Supplies Used: Paper, adhesive, ribbon, candy of choice
Helpful Tip: Use a bone folder to score

1. Print and cut out the pattern. You can adjust the size using your computer or a copy machine.  Trace one strawberry box pattern and a leaf pattern onto the papers of your choice.
2. Score on dashed lines and fold. 
3. Punch out the circles using a 1/8 inch hole punch. 
4. Using a strong adhesive, adhere the tab to the inside of the box. 
5. Weave the ribbon through the holes in the box and gently pull closed. At this point you can fill them up with candy.
6. Thread both ends of the ribbon through the paper leaves and tie a bow to secure.