Showing posts with label DIY. Show all posts

Monday, February 20, 2012

Recycled Rainbow Crayons!


There is nothing better than taking something that is old, and making it new and exciting all over again. 
If you have kids I am sure you have an enormous collection of broken crayons sitting in a container somewhere in your house...well it is time to give them new life!


What you need:


-Old crayons
-Silicone mold or muffin pan
-Knife
-Oven


1.  Gather all your broken up crayons and peel of the paper labels (Crayola brand melt better than other cheaper brands)
2.  Separate crayons into different color families or favorite color combinations
3.  Cut crayons into small pieces and fill mold (you might want to spray the mold with oil first)
4.  Preheat the oven to 200 degrees
5.  Bake 20-25 minutes or until crayons have melted
6.  Allow mold to cool; then pop out crayons
TIPS:
-Don't use a silicone mold that you plan to use for food in the future.
-If you are using a muffin pan you can line it up with aluminum paper, so you can reuse it for food.
-You could also melt the crayons in the microwave (use a microwave safe container), and then just pour the melted crayons into the molds.  This technique works better if you are planning on making layered color crayons.


Wednesday, November 30, 2011

Christmas Yarn Trees!

Trees1
Yarn covered styrofoam cones! So cute and whimsical.  Check out the tutorial here

Christmas is Here: Ready, Save, DIY Decorate!

I have been receiving inquiries about easy and affordable DIY Christmas decorations, so I have done my research and compiled the cutest ideas out there...be inspired and decorate for the season!


Holiday Card Holder from Katy Did & Kid 

Recycled Newsprint Wreath from Crafty Crafty


Button Ornaments from L'Atelier
Modern Paper Ornaments from Design Sponge
Pinecone Trees from Good Housekeeping

Paperback Christmas Trees from Kayla Aimee

Felted Sweater Wreath from Recover Girl
Pucker Up Ornament by Good Housekeeping
christmas kissing ball craft

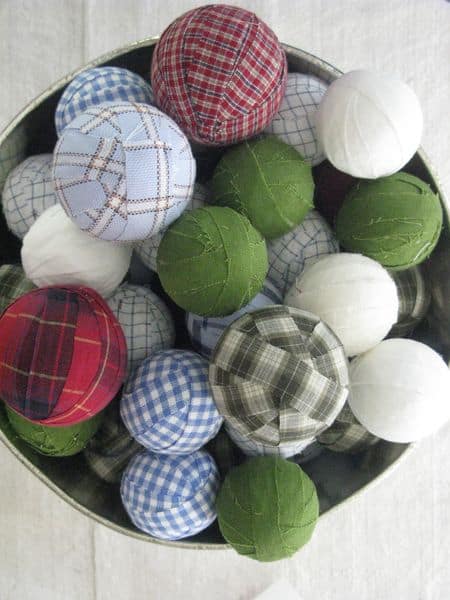
Fabric Covered Ornaments by Eddie Ross
Pine cone ornaments from Good Housekeeping
Pinecone Window Garland

Tuesday, November 15, 2011

DIY: Hair Clip Organizers

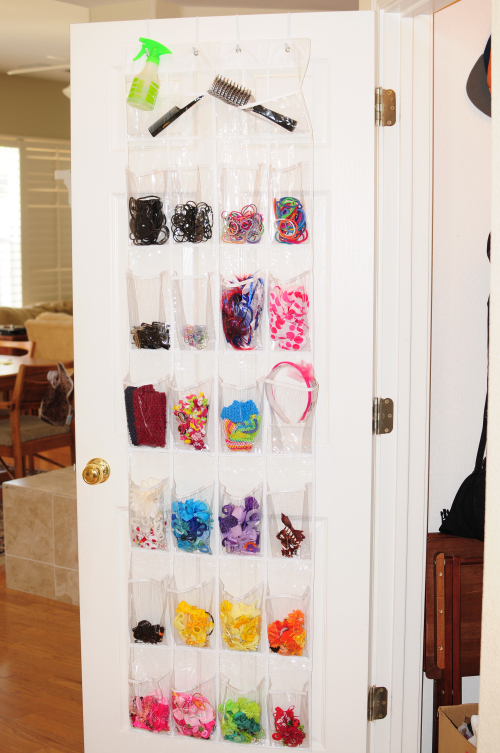
I have been looking for ways to organize my daughter's hair goods and came across these ideas!
These are the kind I have for my daughter, but she has  too many clips and they don't fit anymore!!


Orange and pink girls room
This hair clip organizer by Tonya Stabb is made out of  canvas and ribbon.  It will keep all of your little girl's hair clips in place and serve as room decor at the same time.  Check out the tutorial here
[293784825_l7ikUQ0l_c%255B1%255D%255B2%255D.jpg]
The tutorial to make this one can be found here


DSC_3809_2s
I think this is clever!  Look at more pictures here

Gift In a Jar: Classic Cocoa

Looking for a homemade gift that everybody will love?  Try this recipe for yummy hot cocoa in a jar.

Ingredients

  • 1 quart size jar (12 servings)
  • 1 cup granulated sugar
  • 1 cup unsweetened cocoa powder
  • 1 cup powdered milk
  • 1/2 teaspoon salt 
  • 1/2 cup miniature chocolate chips
  • 1/2 cup miniature marshmallows

Preparation

  • Layer the ingredients for homemade cocoa in the jar, add a ribbon and a tag, and you have a simple but stylish gift. On the back of the tag, write: "Mix contents in a large bowl. For each serving, place 1/3 cup cocoa mix in a mug and stir in 1 cup boiling water. Store remaining mix in airtight container.
You can make smaller batches of this recipe...just keep the proportions of the ingredients.

Thursday, October 13, 2011

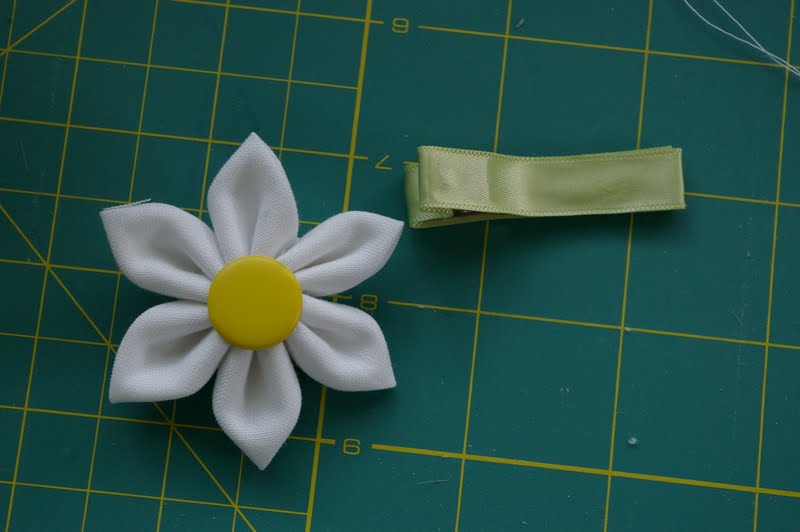
Fabric Daisy Flower Tutorial


  • Fabric
  • Needle and white thread
  • Scissors
  • Fabric glue or hot glue
  • Hair clip (and ribbon to cover, optional)
  • Brad, button, or fabric covered button
  • Felt

1. Using scissors or a rotary cutter, cut six 2" squares.

Like this.

Now fold it once...

twice...

three times.

Fold the edges down to form the petals.


Clip the excess off,

so it's even.

Now stitch through the middle, making sure to catch all the layers.


Repeat that for all six petals.

Pull it tight.  Stitch back through the first petal to secure; knot and trim the thread.

Now attach the center. 
Cut a small circle of felt and glue to secure the back of the daisy.
Covered a hair clip with ribbon 
Use fabric glue to adhere the flower to the hair clip.


Credits: Little Birdie Secrets

Thursday, September 29, 2011

Anthropologie inspired children's rosette necklace

I made this cute necklace for my daughter in about 10 minutes!


Supplies:
-A scrap of tulle fabric
-Felt
-Thread and needle
-Scissors
-Hot glue
-Chain 
-Charm, button, ribbon, lace, pearl to decorate


1. Cut a strip of tulle (2x8 inches)


2. Fold in half and start sewing with a simple stitch at the fold


3. Pull the tread to gather the rosette


4. Cut a small felt circle and sew a ribbon hoop on one of the sides


5. At this point you start gluing your rosette and decorations onto the felt circle


That's it!! it can be worn on a chain or piece of ribbon...or you can make it to decorate a headband, hat, shoes...the possibilities are endless!!


Tuesday, September 27, 2011

Mummy treat cups


These make great halloween decorations, party favors, or just a sweet treat for friends, class mates, neighbors, etc. Fill with any candy you want!


Supplies:
-Plastic white cup, empty jar, empty can (make sure top is not sharp), or empty water bottle (cut the top off with scissors)
-Tacky craft glue of mod podge
-Gauze
-Eyes: you can buy wiggly eyes, or you can make your own with black craft paper of felt.


1. Cut the gauze in 1 inch strips
2. cover the container with glue or mod podge
3. Start wrapping the gauze around the container overlapping just a bit each strip.
3. Glue the eyes
4. Cut two pieces of gauze and glue over and under the eyes (keep the inner eye area frayed)
5. Let dry
6. Fill with candy