


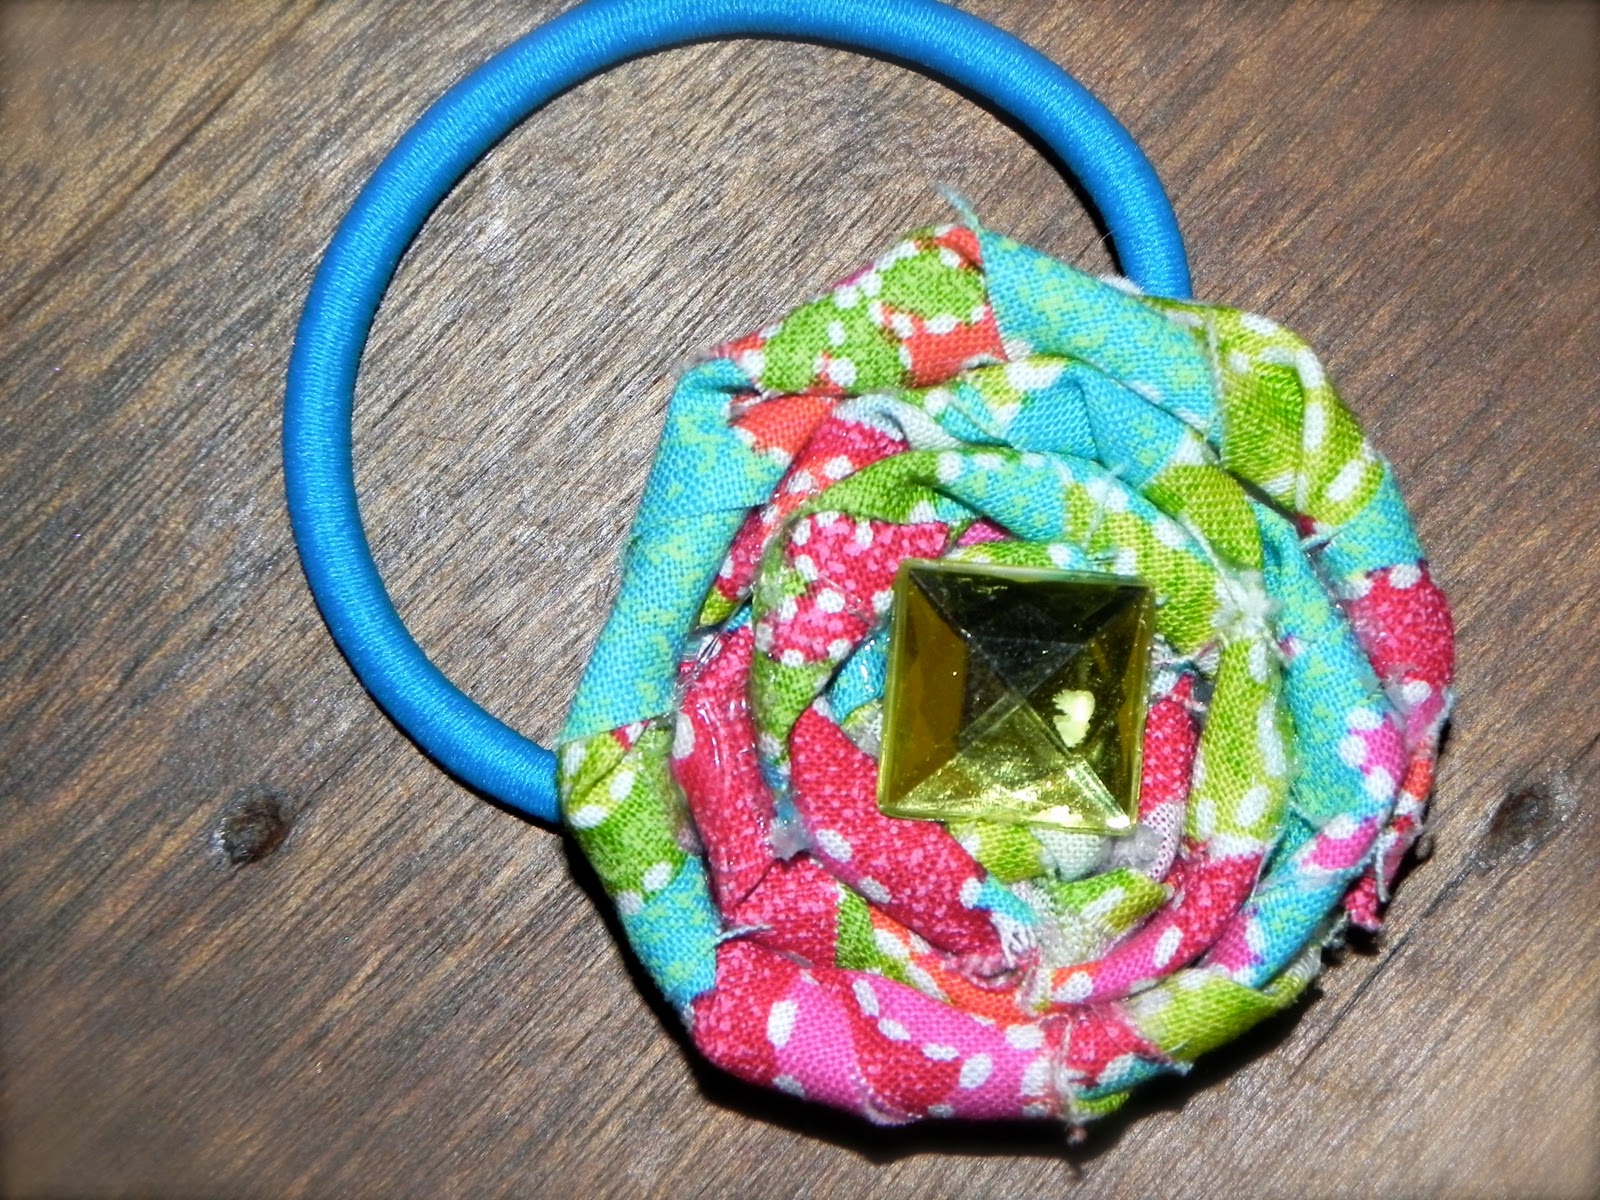
These fabric rosettes can be used to decorate bracelets, headbands, pins, t-shirts or party favors...oh, the possibilities! Here is a step by step guide on how to make them:
Supplies:
-Fabric
-Scissors
-Glue gun
-Beads, buttons, ribbon to decorate
 1. Cut or tear a strip of fabric 1" wide (tear it for a shabby look). The length of your strip will determine how large or small your flower is. I use about 22" long for smaller flowers, 44" inches (length of fabric) for large, and about 60" for extra large. How loosely or tightly you wrap your fabric will also determine the size.
 2. For the center of your rosette, tie a knot in one end of your strip.
 3. Dab a dot of glue on the knot.
4. Hold the knot with one hand and twist the strip with the other. As you twist, turn the knot, wrapping the fabric around it. Every 1/4 to 1/2 turn, dab a little more glue to hold it together.
5. Continue twisting, turning, and gluing. Play around with how tightly or loosely you wrap to see what you like best.
6. When you get to the end, glue the tail to the underside of the rosette.
 7. To ensure your rosette stays together, cut a fabric circle (I used felt) just a little bit smaller than your flower and glue it to the back.
8. Optional: Using a needle and clear (transparent) thread, sew beads or buttons in the middle.


The advent of businesses being offered through the internet has made it very convenient for business owners and customers alike to keep in touch and do business with each other. Indeed, with a click of the mouse, you can send orders and make purchases online without ever having to step out of the house.
ReplyDeletequince flowers toronto